For the CI Integration with our current project — we needed Continuous Integration (CI). Jenkins can be your friend and easy to setup and get go. You need to have Jenkins Server on your machine and code repository should be stored in remote location or locally (preferred) and additional plugins can you give better reports, build to triggering configuration, different statistics and after build execution status. Our object was pretty simple — Keep the log in recored and cont the test script execution in different server (QA, Preprod and Production).
Perquisites:
- Jenkins .war file. Easy to run in windows and mac platform. Just write in console java -jar jenkins.war
- JDK 7 (Old version worked for the Microsoft Azure OS 10)
- All Permissions given to access and execute.
Jenkins Configuration For Windows 10:
- JDK should be pre-installed. Verify the existence of java –
- In command prompt run, java -jar jenkins.war
- http://localhost:8080/ — will be started and you need to access and configure it.
- You might receive this warning in Windows 10 -> WARNING: Symbolic links enabled on this platform (Solution)
- In configuration you need to do these:
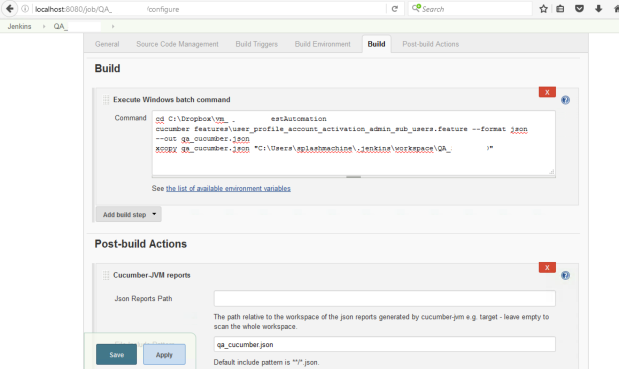
- Execute Windows batch command for Windows OS
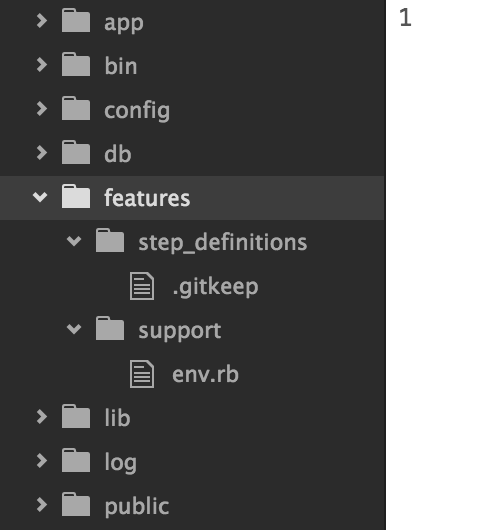
- First line – show the code repository of your scripts
- Second line – Execution command line — it can be customized or followup with cucumber help for different formats. We are generating .json for the report.
- Third line – Moving the recently created .json file to a directory — by using Cucumber JVM will populate report.
Jenkins Configuration for MAC OS X:
- JDK should be pre-installed. Verify the existence of java –
- In console simply run, java -jar jenkins.war
- http://localhost:8080/ — will be started and you need to access and configure it.
- In configuration you need to do these:
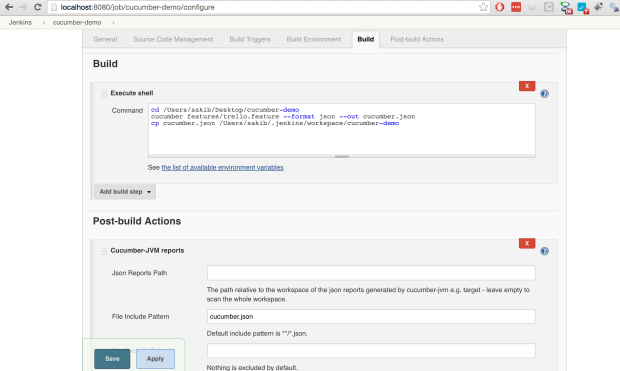
- Execute Shell for Unix.
- First line – show the code repository of your scripts
- Second line – Execution command line — it can be customized or followup with cucumber help for different formats. We are generating .json for the report.
- Third line – Moving the recently created .json file to a directory — by using Cucumber JVM will populate report.
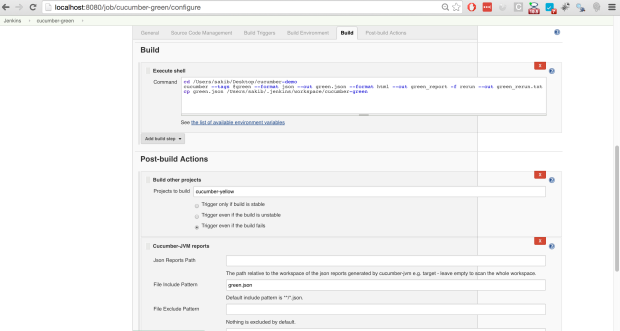
- If you need to run all the Jobs — one after another, you can mention that here in below in post-build actions
Note:
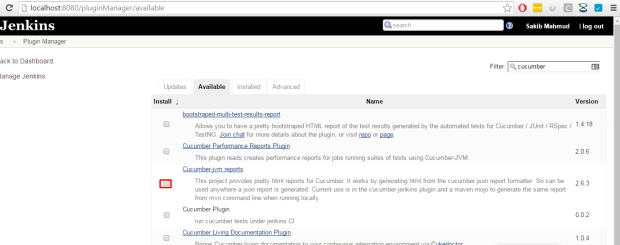
- To setup plugins we need to access here and look for Cucumber JVM Reports. (Restart if required)